I love to travel in my trailer and I love to cook. RV kitchens can be a challenge with their small sinks, minimal cupboard space, and their weird ovens. We are now on our third trailer and with each one, I have gotten more kitchen space. I am currently spoiled with a pantry bigger than my home pantry, lots of drawers, and plenty of room for my dishes and pots and pans. This wasn’t always the case. My first trailer had very minimal kitchen space and I became a master of making everything I needed fit.
My first bit of advice for anyone setting up an RV kitchen is to figure out what kind of RV cook you’re going to be. Are you an everything-from-scratch-kind of person or a pop-it-in-the-microwave kind of person. If you’re the later, you are only going to be challenged by your freezer space and you won’t need much in the way of cookware or utensils. If you’re a little more like me, an almost-from-scratch sort of person, you’re going to need to figure out how to pack your kitchen just right. Here is how I have set up my RV kitchen and how it’s evolved over the past 16 years of RVing.
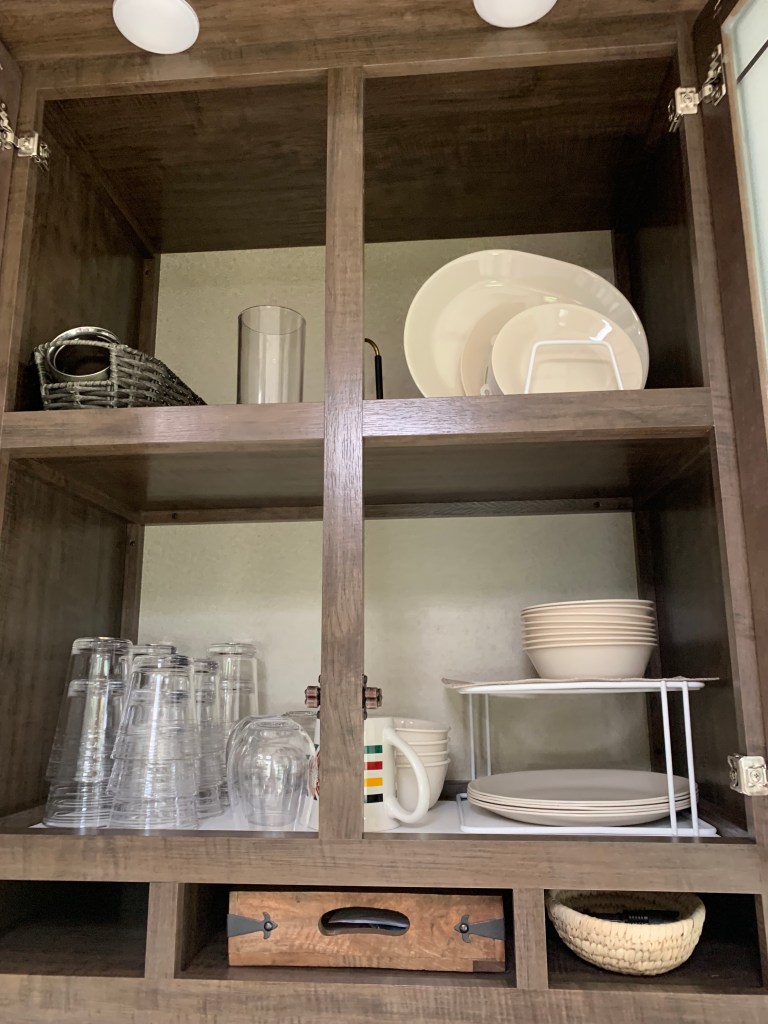
Dishes – I hate paper plates! I am also not a big fan of plastic-y dishes and cups. I want everything to feel as much like real dishes and cups as possible. 16 years ago, I bought a set of Corelle dishes that I am using to this day. They make great RV dishes because they don’t break or chip and they stack compactly.
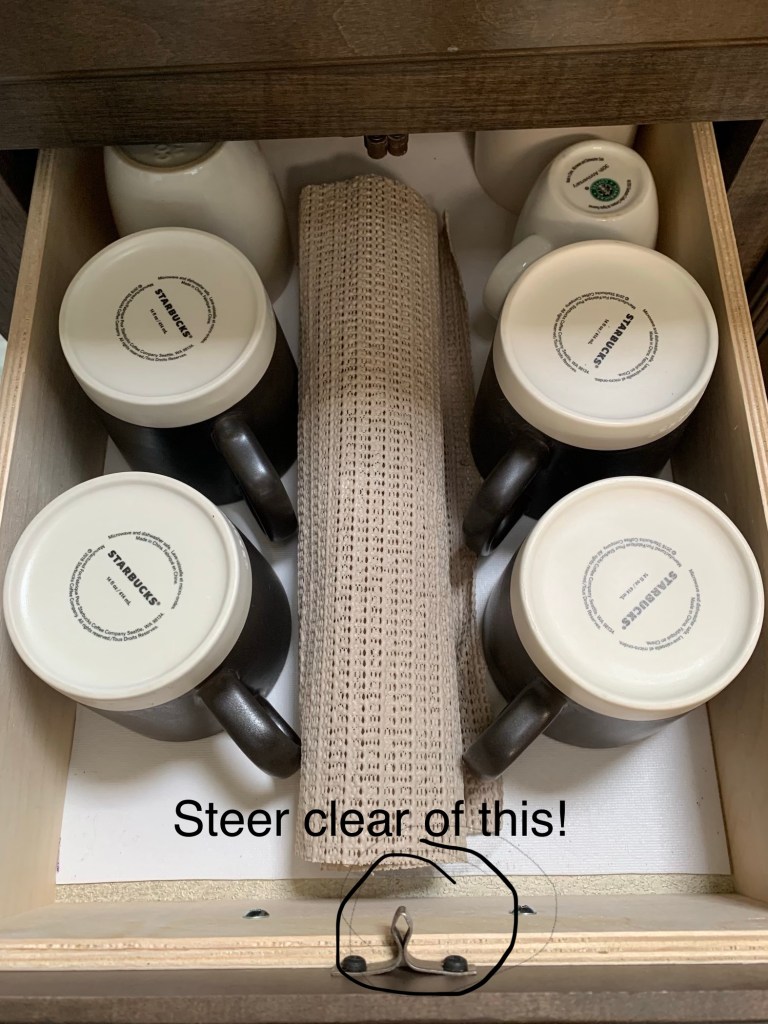
Mugs – Mugs are a very important piece of camping equipment! We have a couple of good travel mugs for when we need to have coffee in the car. Otherwise, we use regular mugs. After 15 years of use, the stoneware mugs from my Corelle set finally died. I have replaced them with some Starbucks mugs that look nice with my dishes. I keep them in a drawer. I find that mugs chip less in a drawer. If you store your mugs in a drawer, you need to measure your drawer before you buy your mugs. I looked a little weird when some kids I know caught me measuring the mugs at Starbucks. You need to make sure they’re not taller than the inside of your drawer and steer clear of the drawer catch thing (I’m sure there’s an official name for it). I lined the drawer with a non-slip liner and put a paper plate rolled up with some no-slip stuff around it in between the rows of mugs so they don’t bump into each other on the road. The paper plate set up was going to be a temporary measure until I thought of something classier, but it’s working! So, I think I’ll just leave it.
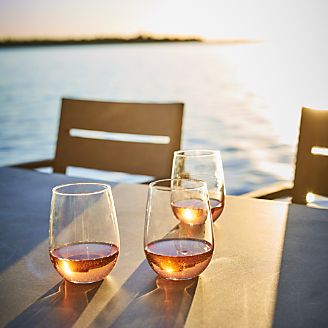
“Glassware” – I use acrylic “glassware.” I had some super cheap cups from Walmart for the first 10 years of RVing. They finally cracked and I sprung for some nicer ones from Crate and Barrel. They’re holding up really well. I also have stemless acrylic wine glasses (because trailers jiggle and you don’t want to spill your wine!). I found nice ones at Crate and Barrel.
Pots and Pans – My biggest piece of advice here is don’t cheap out! That’s right! Don’t go buying the cheapest stuff for your RV! Here’s why. You are on vacation! Your sink is smaller than your sink at home. You don’t have a garbage disposal. Your gray water tank is only so big. The last thing you need is your food sticking to some cheap pot or pan and to spend time and gray water tank space scrubbing! Get some good non-stick cookware for your rig. You can find decent T-Fal at places like Target and Walmart. Also, check places like Home Goods. Sometimes you can find higher end stuff like Calphalon at great prices. If your cookware has glass lids, store your lids on the pots or pans if possible. I have a rack for mine now and it’s working well. I’ve been traveling with glass pan lids for 16 years and haven’t broken one yet!
You need one “beater” pot – You should have one “beater” pot. Maybe one you’ve handed down from your home kitchen or bought used at someplace like Goodwill. I store my “beater” pot in the bench of my dinette. I use it when I need to cook outside or when I’m cooking something that might hurt my good pots, like clams.
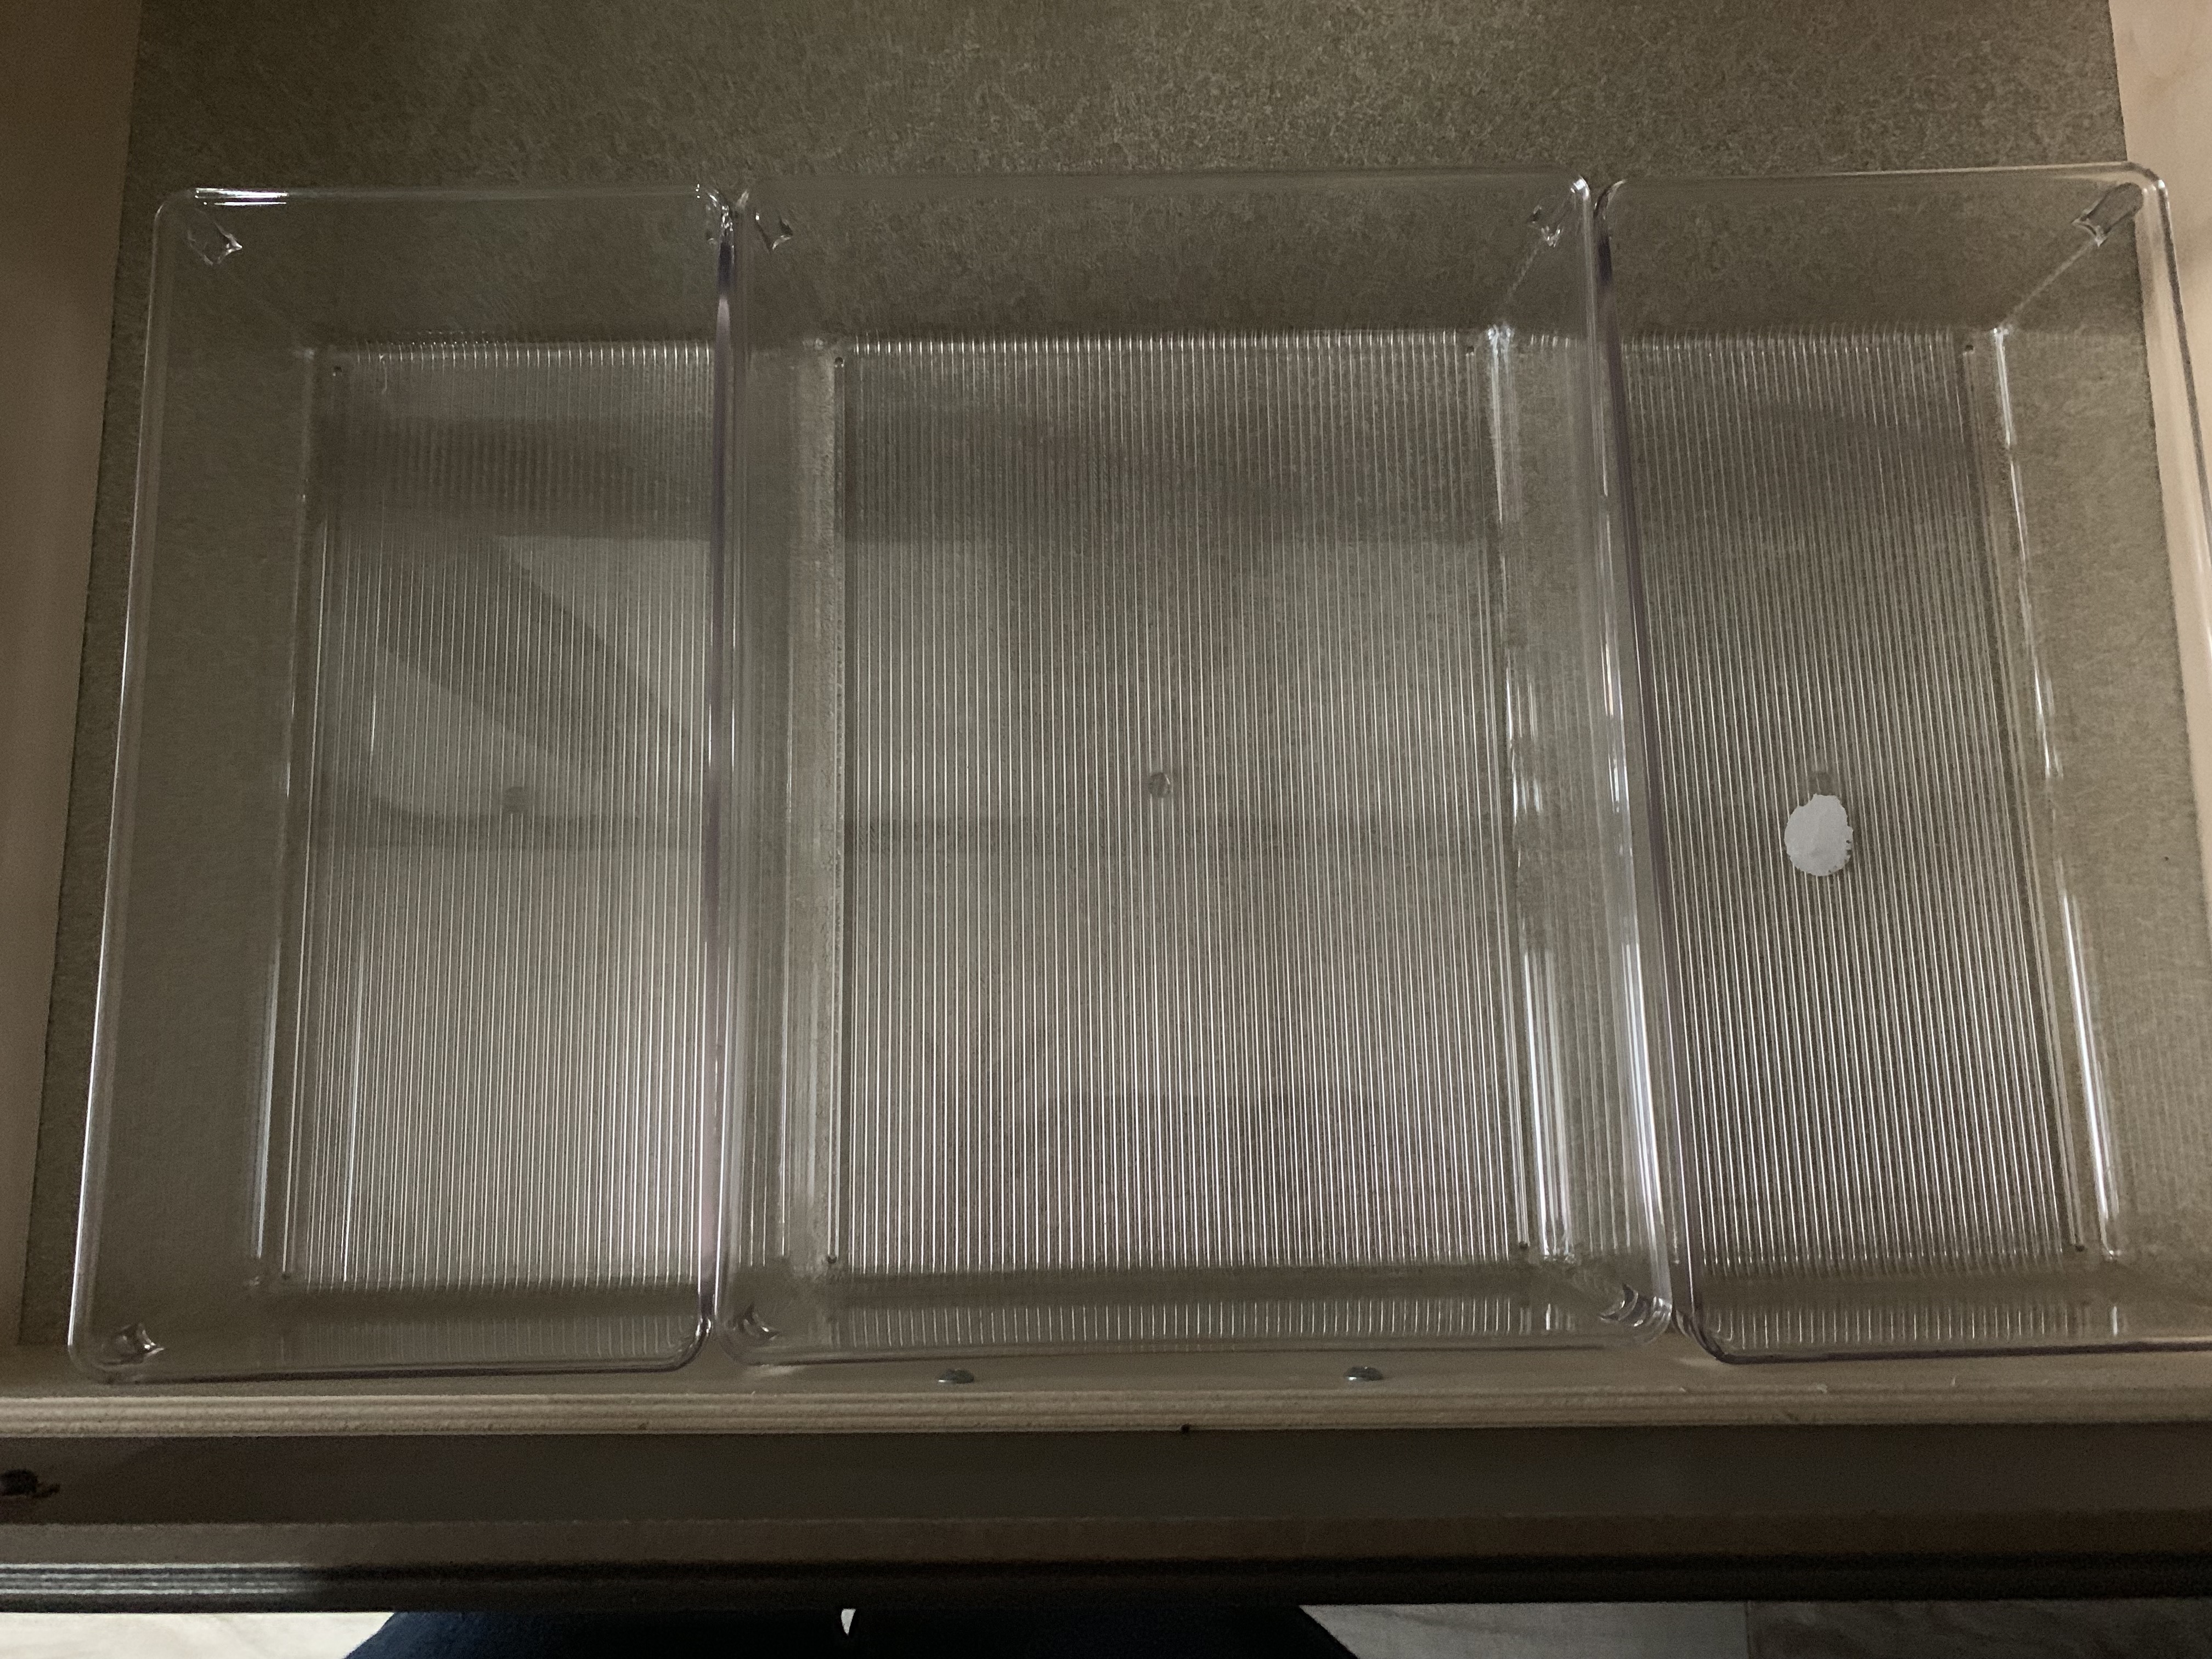
Silverware – Get a good set you like and a silverware organizer for the drawer. No one likes a jumbled mess in the drawer when it’s time to set the table. You can find inexpensive sets of silverware at places like Target or Home Goods.
Utensils – I used to sell Pampered Chef. I am all kinds of picky about my utensils and it’s probably the one thing I have gone more overboard on. I haven’t really given into the “it has to have at least two purposes” mentality for this. For instance, I have an avocado cutting tool. It’s important! I also have a tomato corer and two different sizes of graters. Very important! The one thing I am persnickety about is that everything has to fit in its intended place. So, it took me forever to find the right cheese grater that would lay flat in the drawer and not be a cheap, flimsy one. After a couple months of searching, I found a great Microplane grater with a handle that doesn’t stick up. YAY!
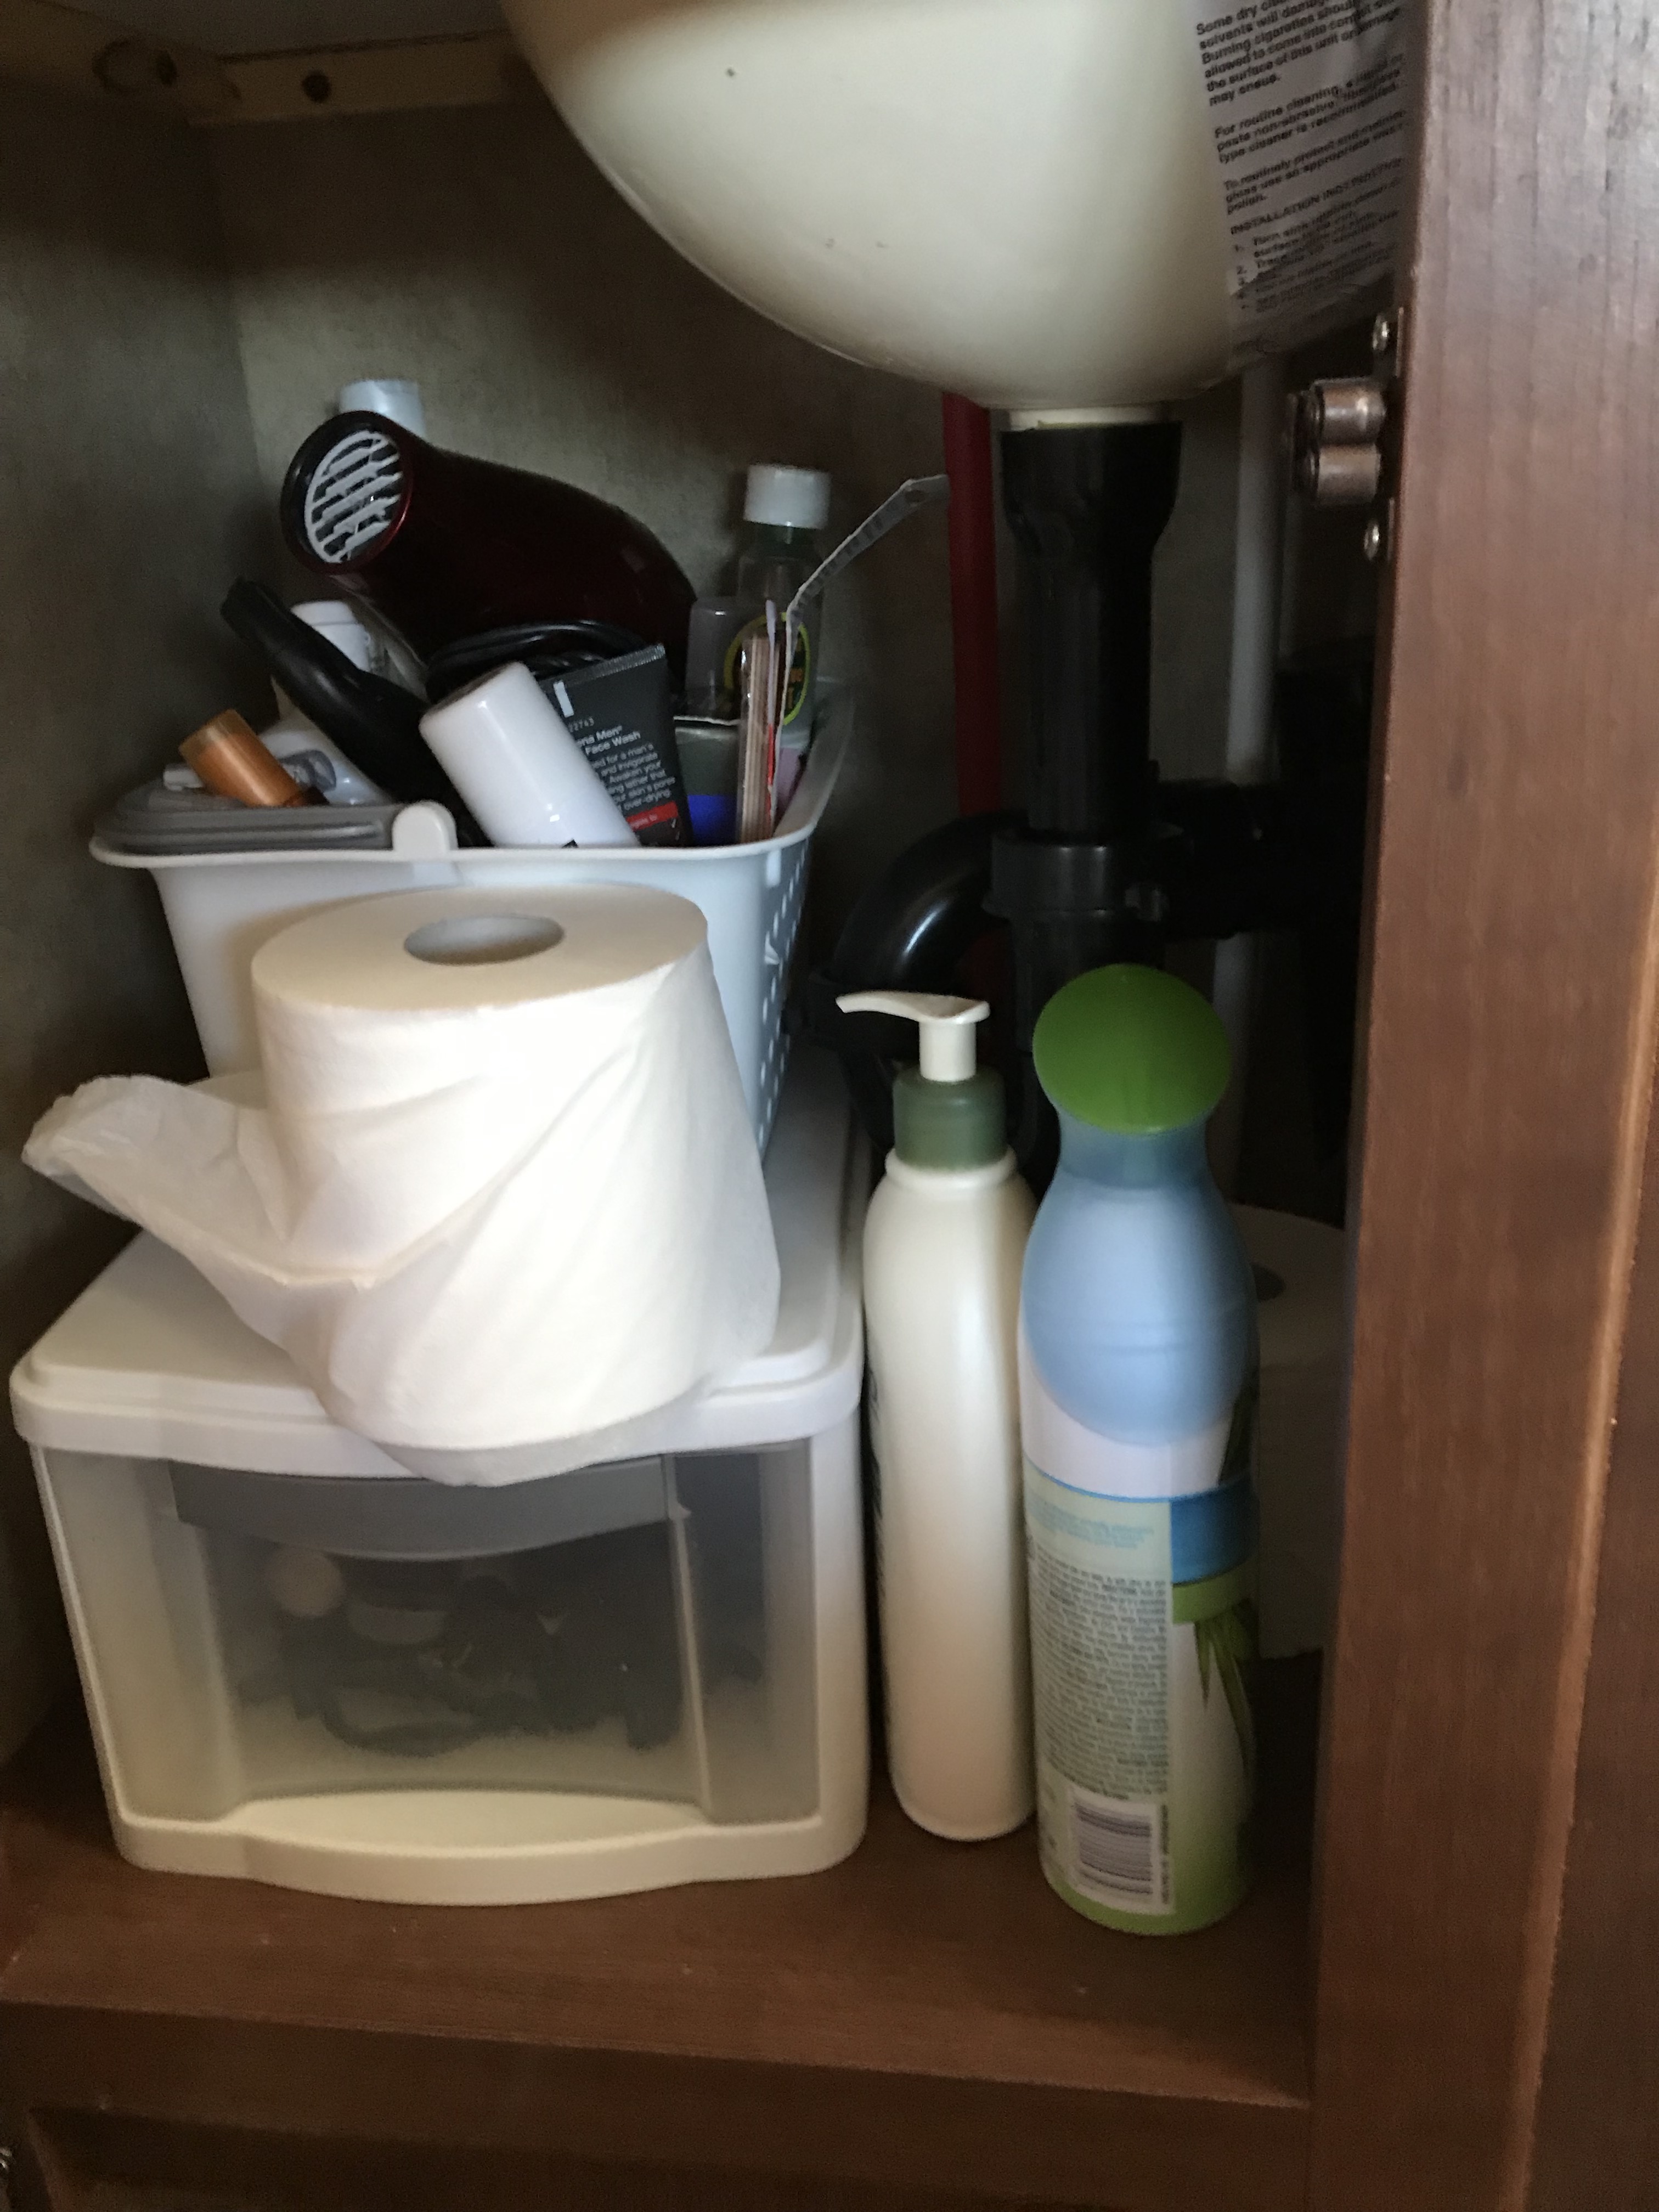
Organizing your utensils – I have all of the utensils that I use near the stove (wooden spoons, rubber scrapers, tongs, etc) in a utensil holder on the counter near the stove. I stow it in the cupboard below when we are traveling. For all other utensils, I have them in drawers organized by size more than function. That’s to prevent the jumbled mess thing from happening in the drawer. I also have my knives in sheaths so that I don’t cut my fingers trying to find something else. I hate bleeding…
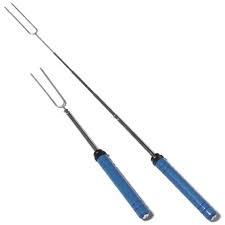
Roll-a-Roasters – Don’t go camping without them! They don’t take up much space! You’ll be the envy of everyone at the campground! Roll-a-Roasters are telescoping roasters for use with a campfire. They have a little turning screw that you can twist with your fingers while you roast. They make perfect marshmallows! You can find Roll-a-Roasters at Camping World or REI.

Small appliances – Our first rig didn’t have much space in the kitchen for things like appliances. Our coffee pot was only a 4 cup coffee pot because we could fit it in the cupboard. We didn’t have enough counter space to actually leave it on the counter while we were camping. Because of that, I have learned to camp without any small appliances other than a coffee pot. When we got a bigger rig, we got a normal sized coffee pot (with a stainless-steel carafe. It’s not breakable and it keeps your coffee hot longer). The coffee pot upgrade was one of the most exciting things about getting a new trailer for us. We left our 4 cupper in the old trailer when we traded it in with a note about why whoever bought the trailer needed that tiny coffee pot. Many people like having a crock-pot or an insta-pot in their rigs. Now that I have space for one, I’m not sure I want one in the trailer. I don’t even have a toaster! If I want to toast something, I use a pan on the stove. I’ve gotten used to my “trailer” recipes that don’t require extra appliances. To be a good “trailer recipe,” the recipe must be fairly simple, not require more than two pots or pans, not be something that you have to spend too much time cleaning out of the bottom of a pan, and of course, be delicious!
A good grill is worth every penny! – We have had some grill failures. For instance, on our first trailer, we bought a gas grill that was basically a giant grill pan on wheels. While it worked OK, our steak had strange grill marks and it wasn’t as good as over an actual flame. Our second trailer had a cool grill that hooked up to a gas spigot thing on the trailer and had a little grill shelf on the back of the trailer. It was a great set-up … except for the part where the grill didn’t work for beans! We had to be super picky about what we cooked on it and the outside temperatures and wind had to be perfect or it would take forever! On our current rig, we sprung for a little Weber gas grill. We love it and it cooks great! My husband is the griller. It was hard to get him enthusiastic about grilling on the first two grills. Now, he’s much more willing and enthusiastic about going out, setting it all up, and grilling.
Grill pan – Funny story, since we had those first two grills that were sub-par and we do much of our camping in the rainy Pacific Northwest, we decided we should have a grill pan for the trailer in case our grilling plans were thwarted by weather or a lack of enthusiasm by the griller. We frequently camp in a town that has two kitchen stores, a big grocery store, and a hardware store that sells some kitchen things. Do you think we could find a grill pan there when we needed one? NO! It’s an artsy town. Our working theory is, there are just too many vegetarians and they don’t grill much (clearly, they haven’t tasted grilled vegetables!). I found a decent T-fal non-stick grill pan at our local Walmart after we got home from one of those trips. It’s come in handy!
Stones – I mentioned before that I sold Pampered Chef. I have several baking stones in my trailer that I think are a big help to RV baking. RV ovens are weird. The stones (along with tiles on the bottom of your oven) help distribute the heat more evenly and prevent burning on the bottom. I have a pizza stone, a round stone (like a cake pan), and a 9 x 9 square baker.
Baking sheets – Before you buy a baking sheet, measure your oven! I have messed this up more than once! My husband has bent baking sheets so they fit. Another time I bought one that almost fit and we just left the oven door open a little. Lame! I should have measured first! After you measure, go someplace like Home Goods or a kitchen store. They’ll have a better size selection. Buy heavier metal baking sheets to prevent burning on the bottom. If you’re lucky, you might find a silpat mat to put on it that will help with clean up. I haven’t been quite that lucky…. Yet….. I love kitchen stores! It’s fun to always have something to look for.
Cute dishtowels and pot-holders you like – Don’t go taking your old, stained dishtowels from your house and put them in your trailer! Go pick out some that make you happy! You’ll be seeing them a LOT while you’re camping! Also, you’ll be using a lot of them if you cook! Most likely, you’ll need to hang them to dry somewhere like your oven handle and it’ll be out where you can see it. You want something you like there, not something stained and ugly! Lately, have been collecting cute dishtowels from places I visit. It’s fun to have reminders of past trips.
I am the “scullery maid” on our trips. That’s what my husband jokingly calls me. I don’t mind because he’s the “hose master” and the driver. This little division of labor gives us each some say in our areas. He has veto power over what we listen to while on the road, for instance. Saddly, there’s not much upgrading you can do with hoses, but he has the best he can find! He likes eating well on the road and doesn’t question my choices in cookware. It works! Although, truth be told, he did look at me a little like I was crazy when I put bread in a basket with a cloth napkin liner on the table! I finally had enough room for the basket and room in the drawer for a couple of cloth napkins. Time to get a bread basket!
Here’s my shopping list for setting up an RV Kitchen:
Serving:
- Set of Corelle Dishes
- Mugs that fit where you’ll store them
- Acrylic “Glassware”
- Set of silverware and silverware organizer
Cooking:
- Set of non-stick pots and pans including; stock-pot, sauce pan, small sauté pan, larger sauté pan, and a skillet with higher sides than a sauté pan.
- Non-stick grill pan
- Beater pot
- Set of nesting mixing bowls with lids (mine are stainless steel and I’ve had them 16 years!)
- Pampered Chef Micro-cooker (great for cooking things like Costco chicken tenders that you’ll be putting in another recipe or for thawing the meat you forgot to take out of the freezer)
- Pyrex type measuring cup
- Nesting dry measuring cups
- Measuring spoons
Favorite Utensils:
- Chef’s Knife, smaller knife, paring knife, and serrated knife (I love my bread knife – works on watermelons too!)
- Pizza Cutter
- Rubber scrapers
- Wooden Spoons
- Rubber tipped tongs
- Flat silicone covered whisk (for stirring in non-stick pots)
- Regular whisk (for things like scrambling eggs)
- Cheese grater (or 2!) – my favorite are Microplane with handles that help them lay flat in the drawers
- Roll-a-Roasters
Baking:
- Baking stones
- Heavy baking sheets that fit in your oven
Other things:
- Good Grill
- Cute Dishtowels
- Coffee pot with stainless steel carafe
- Tea Kettle
- Cutting Boards you like and that don’t slip while you’re cutting
A word about shopping. I am a big fan of brick and mortar stores. I like to touch things like mugs and glasses and see how they’ll feel in my hands. I like to feel the weight of a pot, pan, or a baking sheet. You can’t do that by shopping online! I also like to support small businesses as much as possible and will buy something at a small kitchen shop before going to a someplace like Target. I’ll even pay a few bucks more to buy something from small mom and pop shop than say, Amazon, to help support their business. I encourage you to get off your computer (when you’re done reading this blog post, of course!) and go to actual stores! It’s fun and you’ll be doing the brick and mortar stores a big favor! Additionally, you’ll be doing yourself a big favor by buying things that are more to your liking and that fit in your rig! Win-Win!
Next Trailer Girl Blog – Those Amazing Gadgets, Why I Won’t Pay for Most of Them, And a Few That Have Won Me Over