My Favorite Things for Storage in an RV

Storage is a tricky thing in an RV.  Closets and cupboards are small, sometimes oddly shaped, and it’s hard to find a place for everything.  I am a neat freak.  I like having a place for everything and everything in its place.  I hate looking for things and I hate messy clutter – especially in my trailer!  I’m on vacation!  Don’t mess up my space!  In our 15 years of RVing and traveling with kids and dogs, we’ve learned a few tricks.

First and Foremost – Choose Wisely!

If you’re still shopping for your rig, make sure you’re thinking about what you’ll want to bring and where you might put things inside. When we were shopping for our first bunkhouse trailer in 2004, we had trouble finding one that actually had room for clothes and food in the length we were looking for. The RV industry has changed quite a bit since then and they are using storage as selling points. So, they better have it already! If you’re already in your rig and trying to figure this all out, keep reading. I’ll find room for your stuff!

Secondly – don’t bring too much stuff!  

It’s not as easy as it sounds!  Especially when you’re traveling with kids!  The less stuff you have, the less you have to figure out where it goes.   We travel around the Pacific Northwest.  The weather is unpredictable.  I always pack way more clothes than I need for any given trip – you know, just in case the weather doesn’t turn out to be what it says on my iPhone!  

Here are our packing parameters.  We have folding crates that we keep in the trailer and use for packing.  We leave them in the living room at home while we’re gone. When our kids were little, we would give them a packing list and their crates, and they weren’t supposed to pack more than would fit in the crate.  That worked great most of the time.  There were a few trips where we had to make an emergency trip to Walmart for underwear, but for the most part, it taught them to be really good packers!  My husband and I use the same rule.  I have learned over the past 15 years how to pile over the top of the crate too.  When we packed for a 10-night trip, I got all of my stuff in one crate …. Piled pretty high! Once our crates are in the trailer, we un-pack it into our closets and leave the crates in the living room of our house.  (See my blog post about Weird RV Closets for more closet tips.)

We also use the crates for packing food but fill the crates up as many times as needed to pack for the trip.  The amount of food we bring varies with our destination.  For one of our favorite go-to get-a-ways, sometimes all we’ll pack is juice, coffee, and some breakfast food and figure out the rest when we get there. There’s a grocery store, a wine shop, and some restaurants that we like in town.   Figuring our meals out while we’re there is part of the fun.  For our 10-night trip, we packed like we weren’t going to see a grocery store outside of a camp store.  It served us well!

Containerize 

If you’ve read any of my blogs, you know that I hate jumbled messes.  So, as a neat freak, I am also a bit of a container freak.  I find stores like the Container Store inspiring.  I’m weird like that!   My love of containers has served us well while RVing.  They keep things from jumbling while we’re on the road.  Here are some of my favorites:

  • Clear Bins.  I have them all over the place in our trailer!  I love them!  I can see what’s in them and they keep everything upright and tidy.
Clear plastic bins are my favorite way to keep things from jumbling on the road.
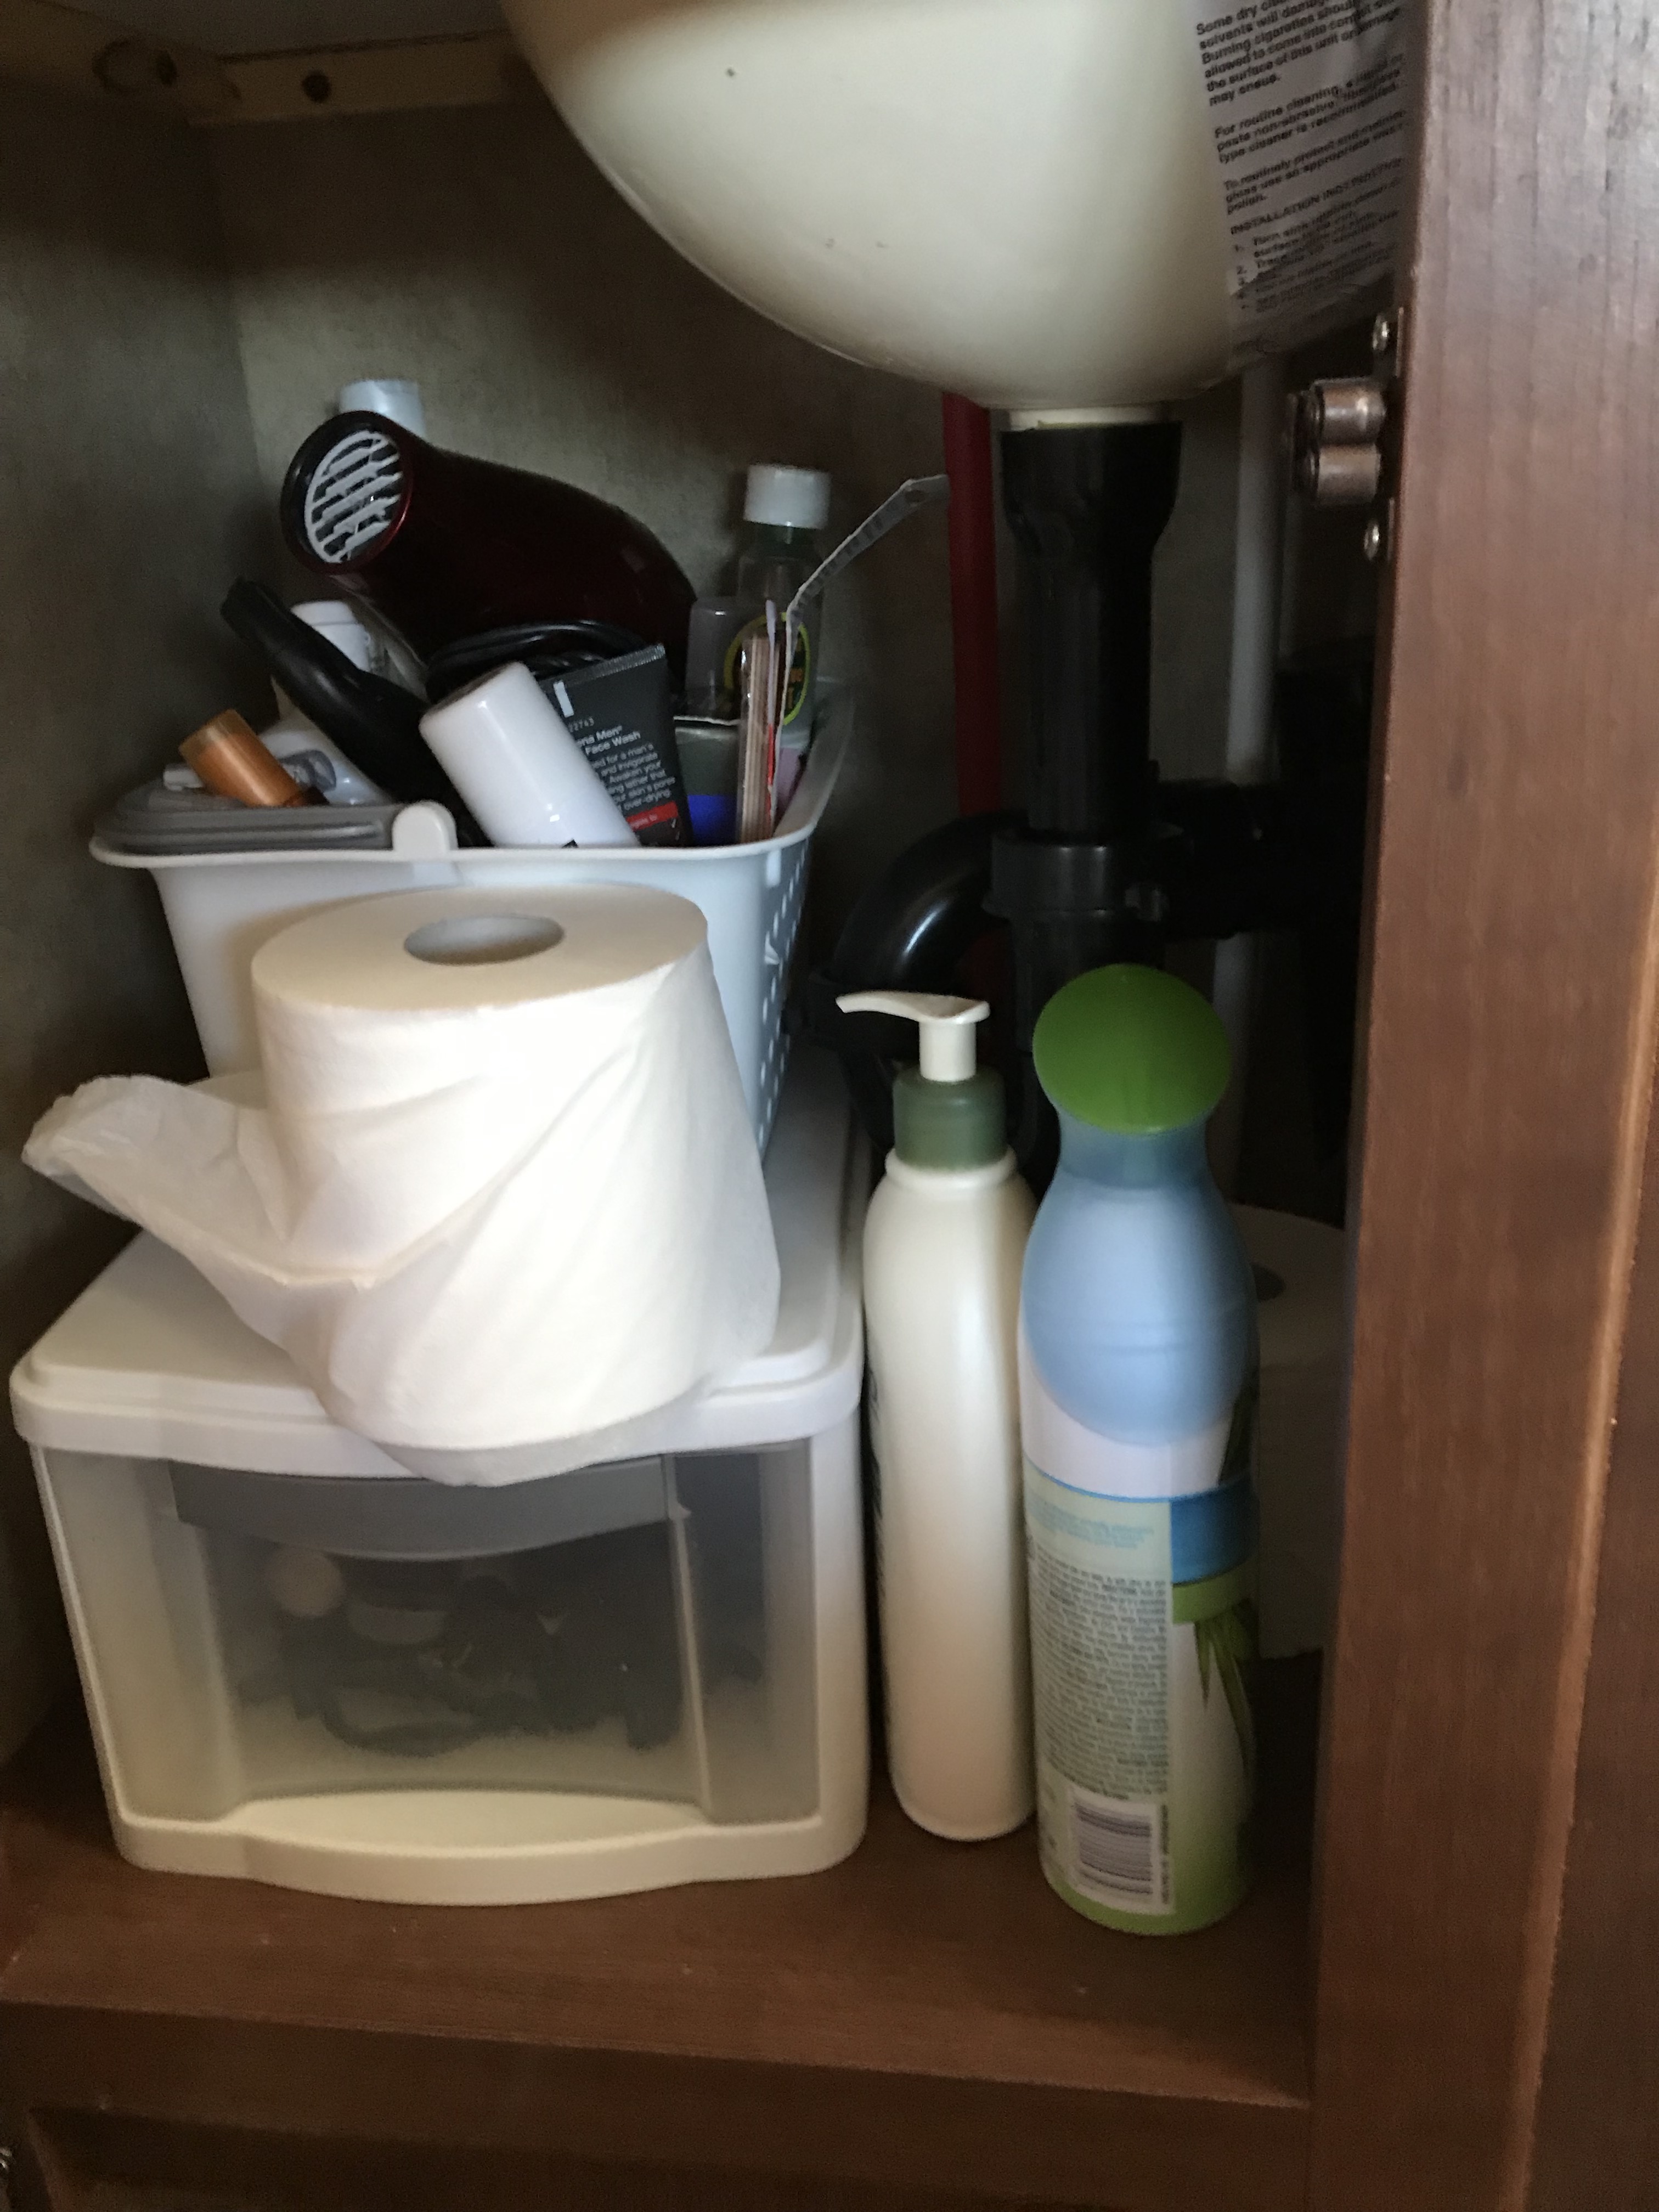
  • Sterlite or Rubbermaid Containers with drawers.  These are great under sinks or in the bottom of a closet when you don’t have a drawer. Measure your space before you buy.
The drawer adds space to my storage under the sink.
  • Crushable Baskets– These squish into spaces as needed.  We use one for our dirty clothes under the bed.  After our trip, we bring in all the laundry.  Our trailer has to live in storage.  When the laundry is all done, we take the basket with clean laundry back to the trailer in storage.  
I use a crushable basket like this for my dirty laundry. I bring the laundry home, wash up everything, and use it to return any of the clean laundry that lives in the trailer.
I purchased this from the Container Store. Click here for shopping link
.
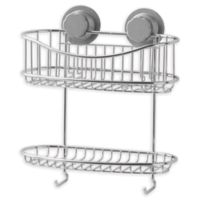
  • Shower Caddies– Find one that works for your shower.  My new favorite is one with knobs that make the suction cups actually stick.  It’s worth the extra money.  Our stuff stays put on the road.  It’s no fun cleaning up shampoo goo out of the shower!  In our first trailer, there was no place to put a shower caddy, and we had a plastic basket with a handle. It was full of shampoo, body wash, etc. It lived in the shower when we were parked but was put away in the cupboard when we were on the road.  If you use this method, be sure to dry it out before you put it in the cupboard, or you could end up with a whole new mess. See photo below of my new favorite shower caddy from Bed Bath and Beyond.
  • Plastic baskets for cleaning supplies– Things like dish soap, Windex, etc. sometimes leak.  If they’re going to leak, they should leak in a container that’s easy for you to clean out. Also, they’re less likely to leak if they can stay upright while you are on the road.
  • Plastic bins for anything liquid– I have things like olive oil, vinegar, wine, etc. in clear bins.  This way, the contents of the bin stay upright and if there are any leaks, I can just clean the bin instead of my cupboard.
  • Nesting items – Put things inside of other things. Think nesting bowls, pots and pans, etc. I put my dry measuring cups inside my clear glass big measuring/mixing bowl. I can always see where they are.
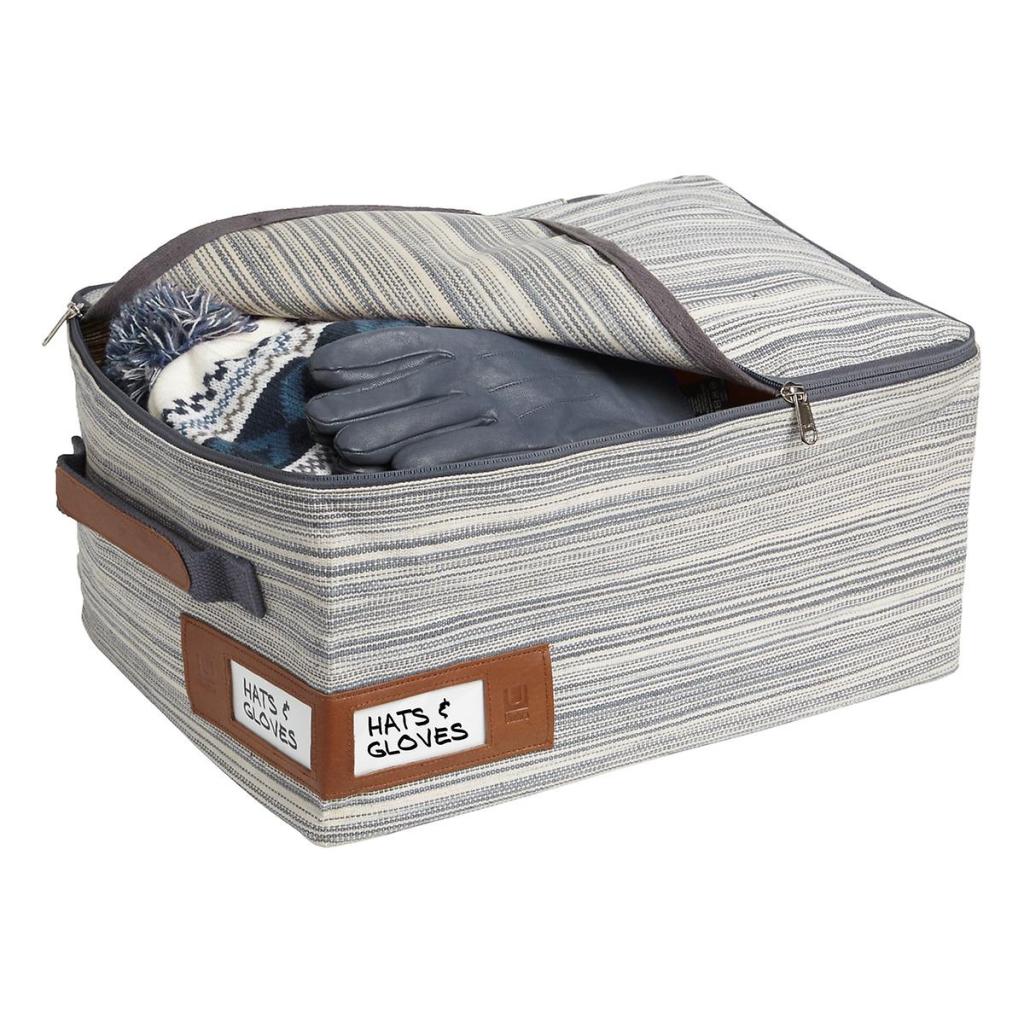
  • Zippable Soft Containers – I’m sure they have a better name, but I like them because they’re squish-able. If I were to put whatever I have inside of my zipper container in a bin, there might be wasted space and there would be no flexibility for storing things around it. I use these for things like sheets. You could also put seasonal items such as hats and gloves in one so they’re not in your way in the middle of summer. I got mine from the Container Store.
Squish-able Zippered Storage keeps things together and tidy when they’re not in use. I use mine for extra sheets. It lives under the bed. Click here for shopping link

Make use of your nooks and crannies

If you’re like us, when you looked at your trailer at the dealer, you looked at the basement storage and thought, “Wow!  Look at all of that space!”  Then, you put your sewer hoses, water hose, chalks, a few chairs, and a grill in there and thought, “Dang!  We could use more space!”  Many trailers have hidden storage space.  Here’s where to look:

  • Under the bed– if you have a designated “master bed” (some trailers have Murphy Beds), most likely there is some storage underneath.  You might be able to lift the entire mattress and access all the space under your bed easily.  In our last trailer, we had storage under the bed, but it was too hard to lift the mattress.  So, we had drawers built into the bed.  It was a great modification that was worth every penny we spent on it!  Here’s what we keep under the bed:  Dirty clothes, laundry supplies, and a mop.  When we are on a trip where we’ll be doing some hiking, we’ll put our backpacks, trekking poles, and boots under the bed as well.  
  • Under the dinette – If you have a booth dinette, you most likely have storage under the seats.  In all 3 of our trailers, we’ve been able to lift up the cushions, to find a piece of plywood that lifts out to expose storage.  We keep things that we don’t use very often in our dinette storage such as beach towels, a beat-up pot for cooking things like clams, etc.  It’s also a great place to store things like board games.
  • Under the sofa – If you have a jack-knife sofa, you might be able to access storage under your sofa.  We were able to do this in our first trailer.  It was a little awkward to get at.  So, it was best to keep things like extra blankets under there.  
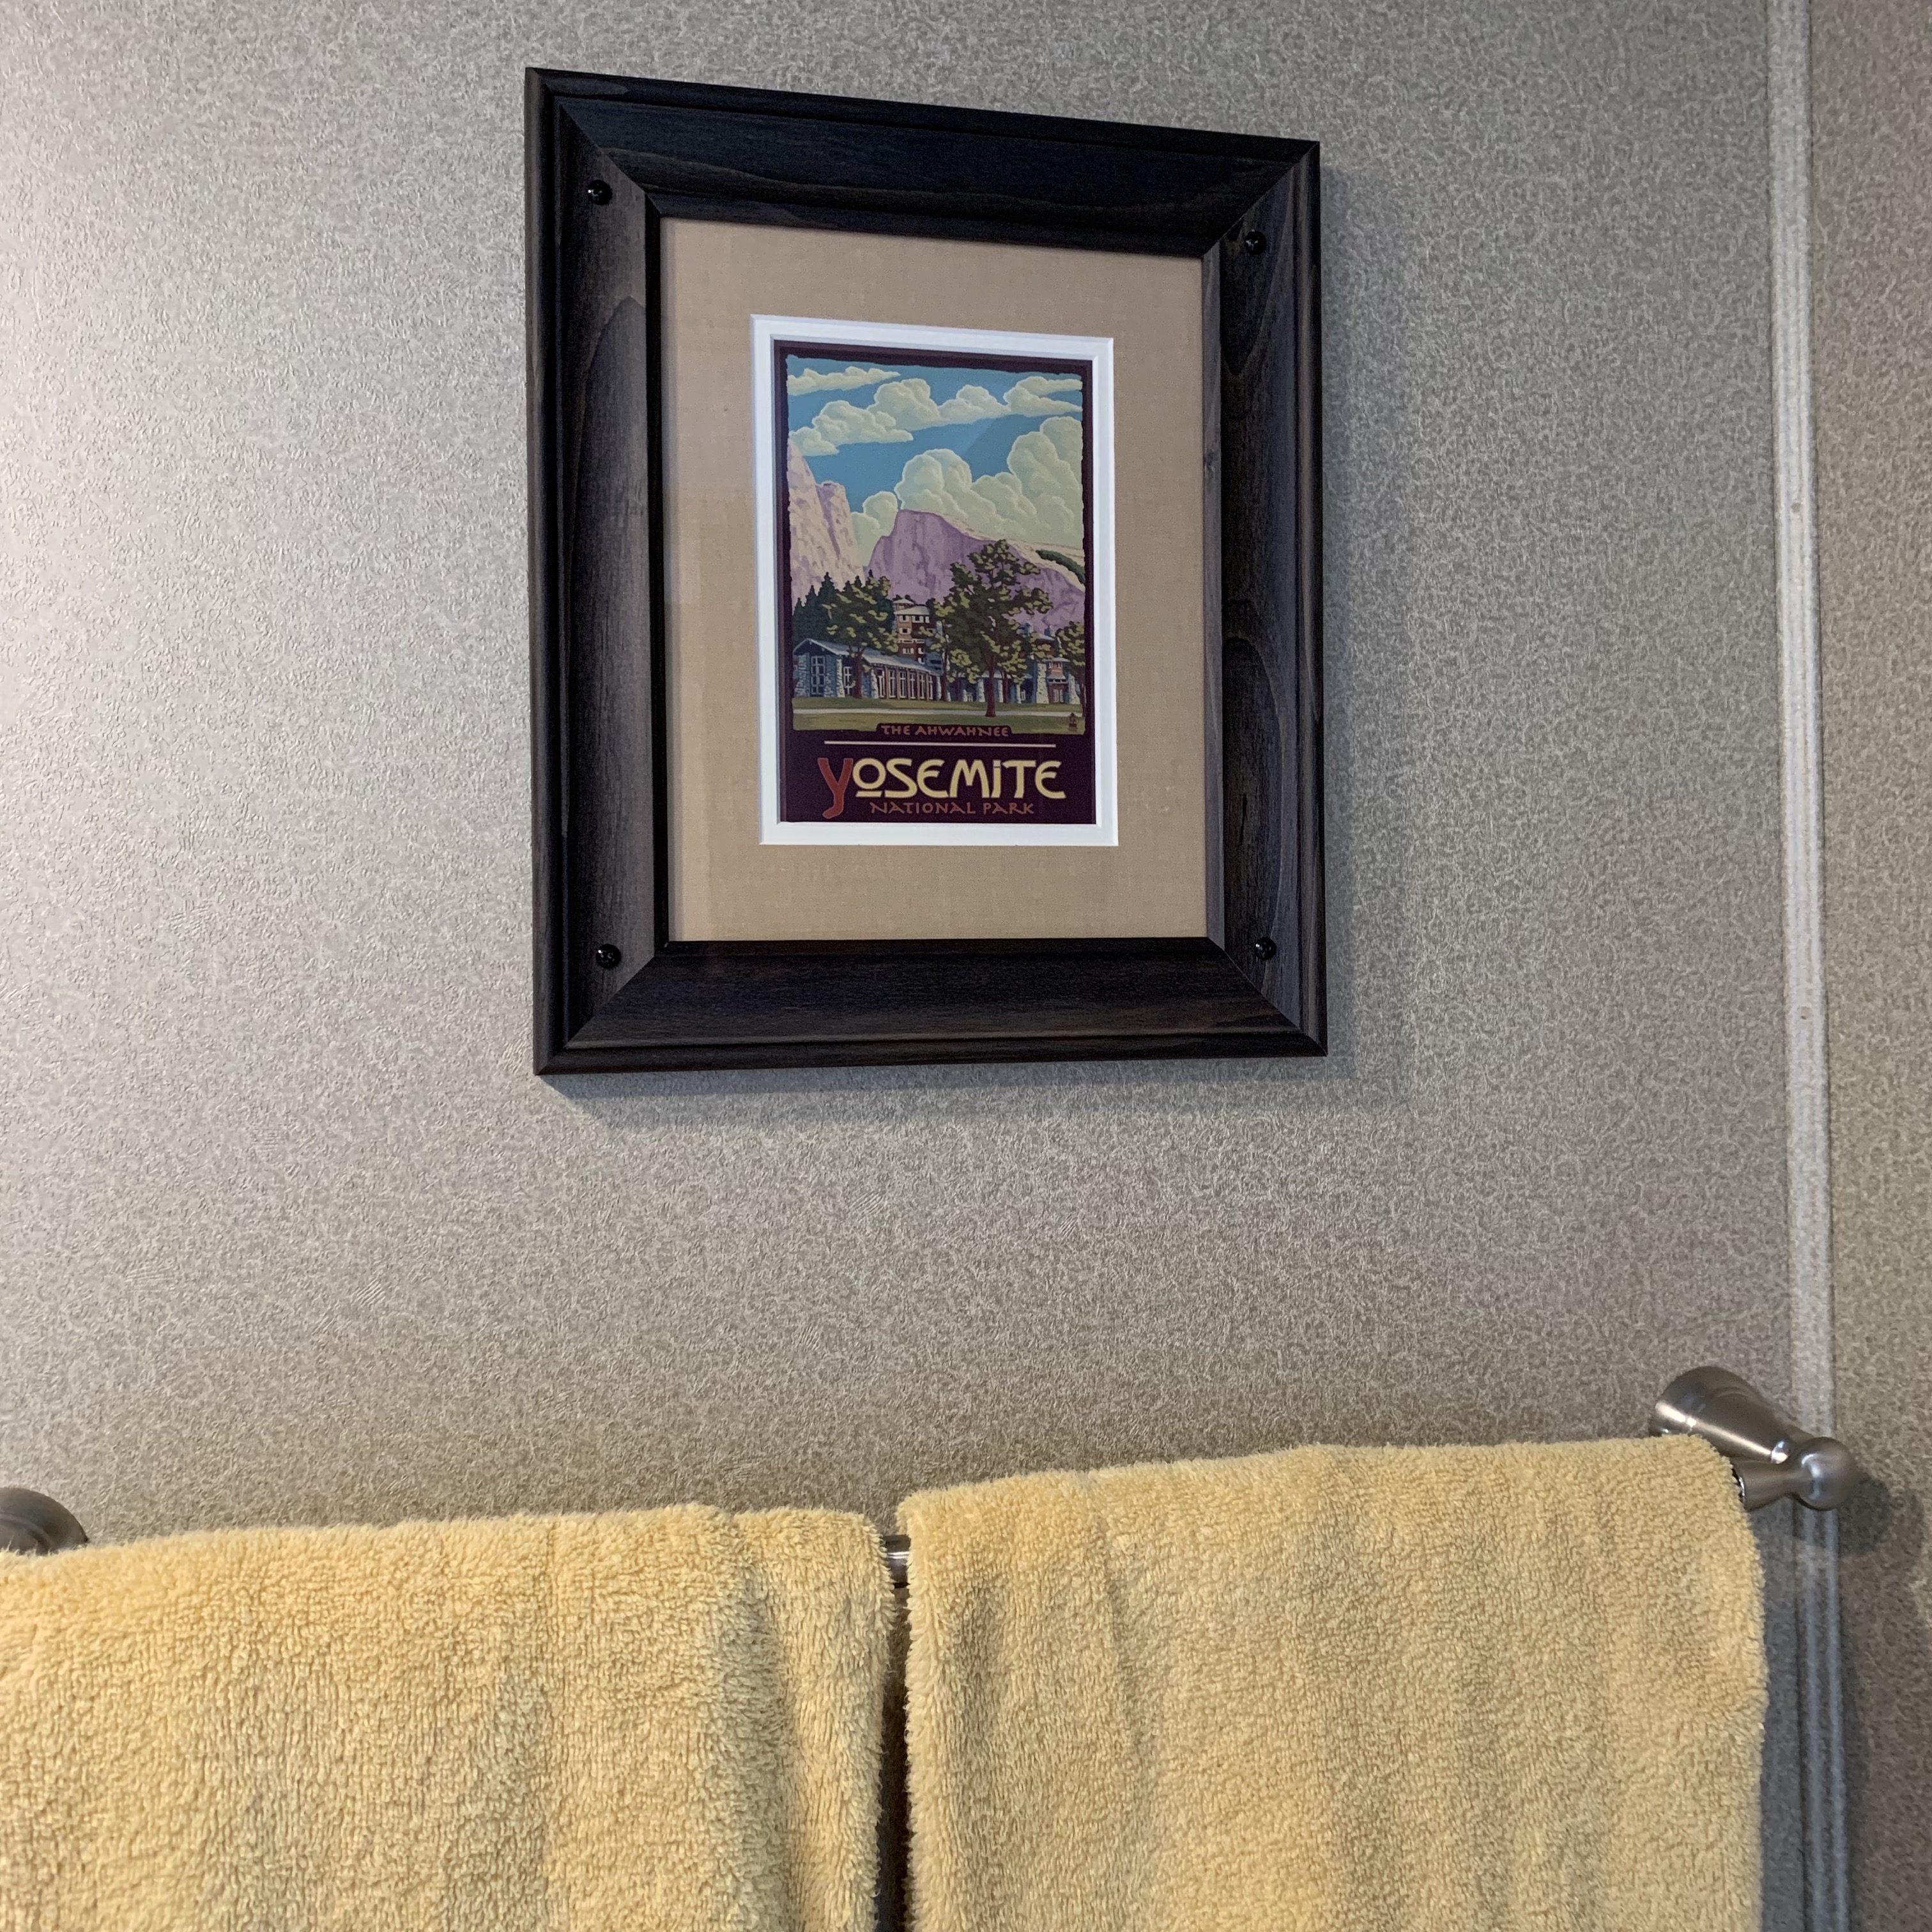
  • Add hooks – Our trailer has a funny little closet that is supposed to be a coat closet. They even went to the trouble of hanging a bar in it for hangers. Only one little problem. The closet is too small for hangers. So, my husband installed several hooks in there. Now we have a place for dog leashes, jackets, etc. We have also added hooks on one of our walls for hanging wet jackets and things.

Create your own storage

We are on a Facebook page for owners of our brand of trailer. It’s fun to see pictures of their modifications. Many trailers in our brand come with a table and chairs. People are building or buying benches with storage and replacing the chairs with these benches at their tables. I think it’s pretty smart! Our rig has a dinette with booth type seating. I love it. It’s comfortable and there’s storage underneath. Maybe there are other ways your can add storage to your rig.

No matter what size your RV is, you can pack it in a way that works for you.  Just remember, before you traveled in an RV you probably packed a suitcase when you traveled.  How did you fit a week in one suitcase?  Maybe you car camped and you shoved your tent, sleeping bags, coolers, and everything in a hatchback. You can do this!  You’ve got lots more space than your suitcase!  How are you going to make it so its functional and fun?  Remember, you’re on vacation!  Have fun!

Next Trailer Girl Blog Post – Entertaining in your RV and our Adventure with Our Trailer at the Airport 

Setting Up Your Trailer – Making It Yours While Maximizing Comfort and Space

Decor

You buy an RV because you want to be comfortable when you camp, or as we like to call it, fake-camp. You’ve probably spent your fair share of time in a tent sleeping in a sleeping bag.  That’s all fun, but you’re ready to be comfortable!   You’re also on vacation.  You don’t want to spend a bunch of time after you arrived setting up and straightening up.  

We recently purchased a new fifth wheel.  I have been having a lot of fun getting to make it ours and organizing cupboards and drawers.  This is now the third rig I’ve set up and personalized.  I have gotten way too many ideas of what to put into this blog post. So, I’ve decided to break it down into 4 posts: Décor, Kitchen, Bedroom and Bath, and Favorite Things for Storage.

Let’s start with décor since many of you may already have everything set up efficiently enough for you. We purchased our first trailer in 2004. RVing was nowhere near as popular as it is now, and décor was stuck in the early ‘90s.  Trailers came in dusty blue or mauve.  Bleh!  Our sofa had mauve and burgundy flowers with green leaves.  I hated it, but there was no good reason to pay big bucks to re-cover it. So, I had to work with it.  I did everything I could to pull out the burgundy parts of the flowers and the green on the leaves.  I used green and burgundy throw pillows and then, tried really hard not to look at the pink flowers for the 10 years we traveled in that trailer. Thankfully, the RV industry has gone more neutral in their design and it’s much easier to add décor touches that are actually yours – not the mauve version of you!

 I’ve recently joined the Facebook group for our trailer manufacturer and have seen some over the top re-decorating including re-wallpapering, re-upholstery, painting, etc.  I like to save that effort for my house and work with what I’ve been given in the trailer (since I had so much practice with the mauve and number).  Keeping it simple will also save you money so you have more to spend on actually going places.

There are a few things to keep in mind when you’re decorating:

  • You’re preparing for an earthquake – OK so not a real earthquake, but when you hit the road, whatever you’re towing has an earthquake every time you hit the road. Don’t put anything in your RV that you are worried about getting broken.  
  • Décor can add a chore to your set up if you let it – I try to avoid too much nick-knack type items that have to be taken out to set up when we arrive and put away when we get ready to go.  I’m on vacation already!  I don’t want extra chores!  I save this chore for very special items, like a favorite photo of my kids.
  • You should love it – This is your vacation home!  Only decorate with things you love.  I love being in my trailer!  It’s been a thing for all three of them!  I love looking around at my “vacation home” and enjoying my surroundings. Of course, it helped to be sitting on the ugly mauve sofa so I couldn’t see it when we were in our first rig.  If you can’t sit with your morning coffee and enjoy your surroundings, fix it!  Find something you love and put it in your RV! For the record, in the featured photo of our sofa. My husband loves the “dead animal” pillow and I love the Pottery Barn pillow. I love the “dead animal pillow’s” colors and how it represents so much of our travels around the Western US. They’re sort of pulled together by the red leather pillows. We decided we didn’t care if it wouldn’t be approved by Martha Stewart. We love it – even if it might be breaking some interior design rules!

The biggest bang for your buck in décor are things like throw pillows, rugs, towels in a color you like, or a throw blanket on your bed or over the back of your couch.  All of these things can be easily changed out if you get tired of them too. My mom was a super decorator.  She would put new curtains in everything she touched, including my first trailer!   It was a good thing!  The first set of curtains faded quickly.  She made some really nice ones with linings.  Now, I’m seeing less curtains and more shades in trailers.  There are often curtain type valances that are easily replaced with a little sewing know how.  Don’t let curtains or fabric valances be deal-breakers when choosing your trailer.

In our new rig, we used mostly things we loved from the décor we put in our old trailer such as throw pillows, the quilt on the bed, pictures from the walls, etc.  We are National Parks geeks and we’ve been collecting greeting card versions of the posters.  I frame them and we hang them on the walls.  It’s a cheap way to decorate!  It’s also fun to decorate with souvenirs from our travels.

Hanging things on the walls is a bit of a conundrum.  Trailer walls aren’t like the walls at home.  For wood frames, we drill all the way through the frame and screw it onto the wall with 4 attractive screws.  We’ve never had a problem with a picture coming off the wall.  The rub is, when you go to sell your rig, you either have to leave the pictures or holes in the wall.  What we did was, took the frames down, pulled the pictures out, and screwed the frames back up.  So, the new owners of our trailer will have frames to fill with their favorite pictures.

4 attractive screws are holding up my picture. This is a framed greeting card version of a National Parks poster that I framed myself.

For our new trailer, I bought a metal sign that I absolutely love.  It didn’t have a good way to hang it from a screw without compromising the design.  I used command picture hanging tape and it’s working great.  I’d be leery of using it with picture frames with glass.  Trailers get exposed to such big temperature extremes. I just don’t trust the tape for something breakable.  I’ve heard from others that they’ve had no problems.  

I thought the screw might compromised the great design. So, I hung it up with Command Picture Hanging Tape. Ghostly looking person in the window is me!

Kids and general activity can cause a disturbance in the décor.  There are wallets, cell phones, cell phone chargers, sunglasses, brochures for things to do, the pamphlet that the RV park gives you with all the rules, the paper with the code to the “big potty,” etc.  All of that can clutter things up and drive you nuts (or not – I am a bit of an OCD neat-freak so these things drive me nuts).  Here’s how we keep it under control.

  • Baskets are a big help– Our first trailer had open shelving.  I didn’t want to see everything on the shelves.  So, we put things in baskets.  It looked great and our stuff stayed put.   We also have a little basket for the keys and wallet so we can always find them.  In our new trailer, I found a spot for a flat-ish basket.  Our plan is to keep all of our brochures and RV park papers in it. 
  • Magazine Rack – A magazine rack that can be attached to a wall is a great way to corral all of the miscellaneous paperwork, magazines, maps, and such that come with your travel.  Just remember to clean it out every so often.  When we were moving out of our trailer, I found things that were 5 years old. We probably didn’t need to save them.
  • Cute recycle basket – We had an issue where we had empty water bottles floating all over the trailer.  We would also pile recycling into the corner of the counter and it looked awful and was also in the way.  So, I bought a cute, small, narrow basket that fits by the door of the trailer.  It fills up at least once a day, and we empty it (or when we had a kid along, we’d send him to the recycling.  We kind of miss his recycling services.)  It really helps to keep the recycling clutter down.
  • Trash can with a lid – One of the best splurge-ish things we ever bought for the trailer was a butterfly lid Simple Human trash can.  We mostly bought it because at the time, we had a dog that liked to get into the trash and it was Daisy-proof!  The beautiful thing about this trash can is, you can’t see the trash, it’s nice looking (as trash cans go), and it’s easily accessible for us to use. We also spend the extra money on the Simple Human trash bags because you also can’t see them!  We really love our trash can! Weird, but true!

If you’re refurbishing a vintage trailer, or fixing up an older used trailer, you’ve got a much bigger project and might need to do things like sew new curtains, re-upholster, re-wallpaper, etc.  That could be a fun project!   I love this show called “Flipping RV’s.”  Check it out!  They refurbish old, sad trailers and do some great décor.    You might find some inspiration.  Even if you’re not into vintage trailers, it’s a fun show to watch.

If you’re still shopping for your trailer, when you step inside a rig you like, sit somewhere in it.  Imagine yourself with your morning cup of coffee and decide it it’s worthy of becoming your vacation home.  Think of what you might be putting into it that you love.  Will it get along with the décor the rig comes with?  Remember, it’s your vacation home!  You don’t want to feel like you’re renting someone else’s vacation home.

Whatever you’re doing, I hope you love it and that it makes your trailer into your vacation home! Happy setting up!

Next Trailer Girl Blog Post:  Setting up your RV Kitchen – Maximizing Space and Efficiency